Volume 2 Server Setup: Difference between revisions
From OuroDev
| Line 96: | Line 96: | ||
# You should see "TESTS COMPLETED SUCCESSFULLY!" in the output. If not, go back and check your settings. [[File:ODBC Add Auth 8.png|thumb|none]] | # You should see "TESTS COMPLETED SUCCESSFULLY!" in the output. If not, go back and check your settings. [[File:ODBC Add Auth 8.png|thumb|none]] | ||
# Click OK, then OK again. | # Click OK, then OK again. | ||
== Launch Server == | == Launch Server == | ||
Revision as of 13:09, 8 June 2019
Required Software
- Ouroboros Volume 2 Binaries. For this guide, we will assume that you are installing them into C:\Ouroboros. You can either:
- Download a released version of Volume 2 (not yet available)
- Follow Volume 2 Build to compile it from source, then copy the contents of the bin directory to c:\Ouroboros
- Database schema definitions. For now, get them from https://git.ourodev.com/CoX/Source/src/tag/v2-i1.0.0/Assets/DBSchemas
- SQL Server 2012 or later (Express is good enough for development)
- SQL Server Management(SSMS)
- Download the Issue 24 client and data files - this is not the SCORE client/data.
- Download CoHDev_Source_Files_Current(Updated).zip.
- Download ServerData.7z.
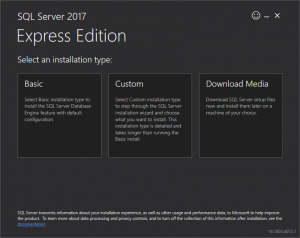
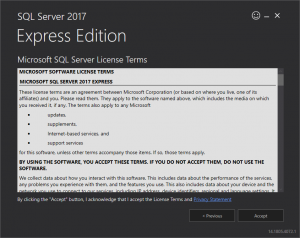
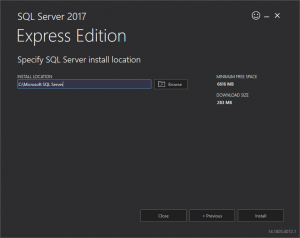
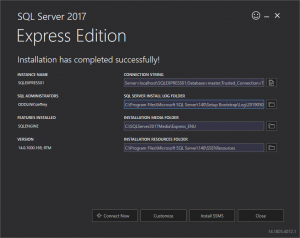
Install SQL Server 2017 Express
- You can install SQL Server pretty much on the default settings.
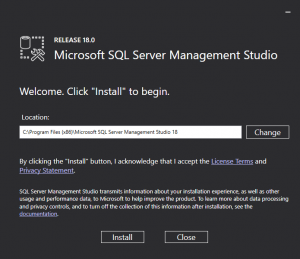
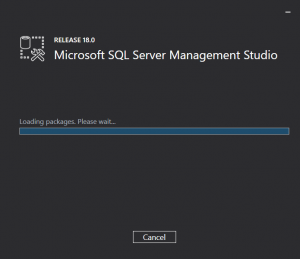
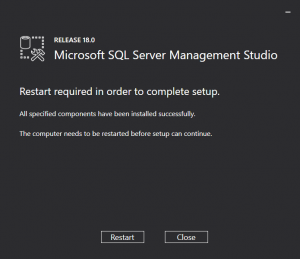
Install SQL Server Management(SSMS)
- You can install SQL Server Management on default settings.
Setup Server Files
- Create a directory in C:\Ouroboros called data.
- Open ServerData.7z and extract all files into C:\Ouroboros\data (the newly created directory).
- Open CoHDev_Source_Files_Current(Updated).zip.
- Extract "i24 Server and Client Piggs (extracted with CoHTools)" into C:\Ouroboros\data.
- Copy maps.db from "map.db (modified, working on current VS2010 build)" and place it in C:\Ouroboros\data\server\db, overwriting the old maps.db
- Copy the piggs folder from your i24 client directory and place them in C:\Ouroboros\. You should end up with C:\Ouroboros\piggs\ populated.
- Create a directory in your C: drive called "CoH_Data" and another directory inside that, called "attributes" (C:\CoH_Data\attributes).
- Run this in a command prompt:
cd Source\bin.\mapserver.exe -productionmode -templates
- Copy all files from C:\CoH_Data\attributes and place them into C:\Ouroboros\data\server\db\templates.
- Run this in a command prompt:
- Open C:\Ouroboros\DBSchemas and execute all the .sql files in the directory. You may need to change the file path -- anywhere works. Drop old database references before if there are any.
Database setup
- You will need to choose a password for the database user. In these examples it will be "YOURL33TPASS!".
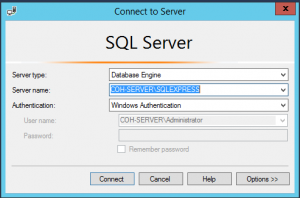
- Launch SQL Server Management Studio from the start menu
- Hit "Connect" on the screen that pops up, with default settings:
- We need to enable the sa login so that server can login to the database.
- If you look to the left panel you will see the object explorer and your connection. Right click it and select properties.
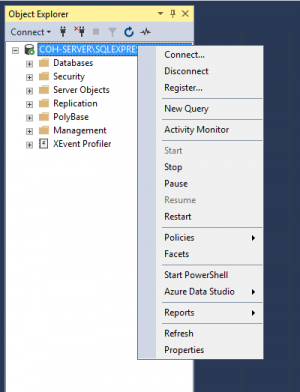
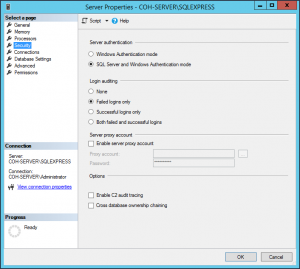
- When this window comes up hit Security to the left and enable "sql server and windows authentication". Then click ok.
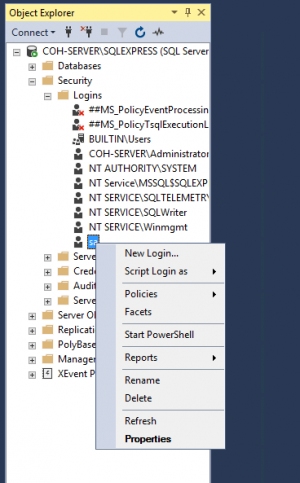
- In the same panel you used before navigate to Security -> Logins then right click and enter properties the sa user.
- In this window set the password to the same password you set back at step 4
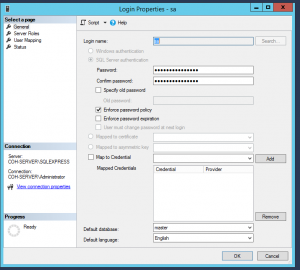
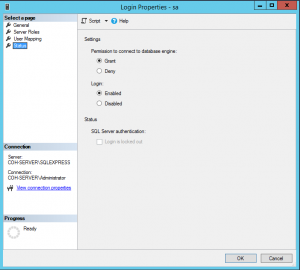
- Choose Status from the left panel in this same window and set login to enabled and hit ok.
- Right click the connection in the object explorer again and click Restart.
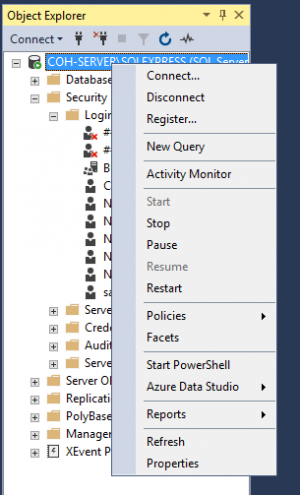
- If you look to the left panel you will see the object explorer and your connection. Right click it and select properties.
- Next we need to apply the schema for the databases which require this to be done manually (account, auction, auth, and chat)
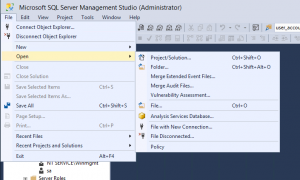
- Click File -> Open -> File, navigate to the dbschemas that you downloaded at the start, and select cohauc.sql
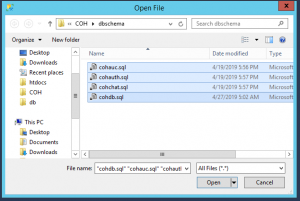
- You will see a create database statement near the top of the file, with two lines that include a filename parameter.

- Set these to the directory where you want to create the database files. For this example, I have created a directory
C:\OuroborsDband put the database there:( NAME = N'cohauc', FILENAME = N'C:\OuroborosDb\cohauc.mdf' , SIZE = 157440KB , MAXSIZE = UNLIMITED, FILEGROWTH = 1024KB )
( NAME = N'cohauc_log', FILENAME = N'C:\OuroborosDb\cohauc_log.ldf' , SIZE = 353216KB , MAXSIZE = 2048GB , FILEGROWTH = 10%)
- Click the Execute button
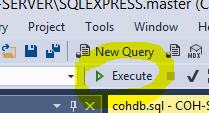
- Repeat these steps for cohacc.sql, cohauth.sql and cohchat.sql. Do not use cohdb.sql
- Click File -> Open -> File, navigate to the dbschemas that you downloaded at the start, and select cohauc.sql
Server database connection configuration
Navigate to C:\Ouroboros\data\server\db. In each of the following files, look for an SqlLogin line, and change the Pwd= value to your password. Using our example YOURL33TPASS!:
SqlLogin "DRIVER={SQL Server Native Client 11.0};Server=localhost\SQLEXPRESS;Uid=sa;Pwd=YOURL33TPASS!;"
- account_server.cfg
- auction_server.cfg
- chat_server.cfg
- servers.cfg
In servers.cfg, also fix SqlInit to be:
SqlInit "create database cohdb;"
For authserver, we have to configure the connection via ODBC data sources.
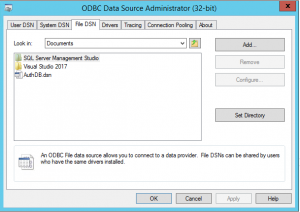
- Launch "ODBC Data Sources (32-bit)" from the start menu, or run directly from C:\Windows\SysWOW64\odbcad32.exe. (Do not use the 64-bit version)
- Click File DSN then click add to the right.
- Choose ODBC Driver 17 for SQL Server.
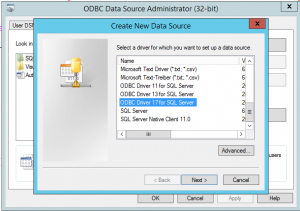
- Click Next.
- Enter AuthDB into the box
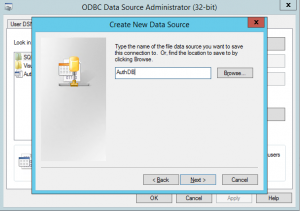
- Click Next, then Finish.
- One of the boxes on the next page will say "Which SQL Server do you want to connect to?". Type localhost\SQLEXPRESS
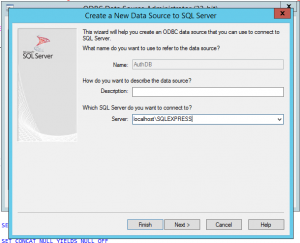
- Click Next
- Choose "With SQL Server authentication using a login ID and password entered by the user". Enter "sa" for the username, and the password that you chose:
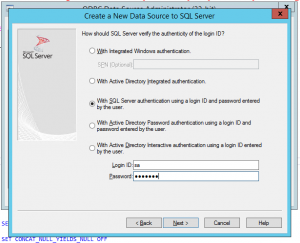
- Click Next
- Enable "Change the default database to" and select "cohauth".
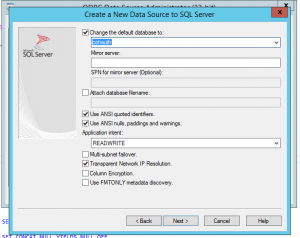
- Click Next
- Default settings are fine on the last page
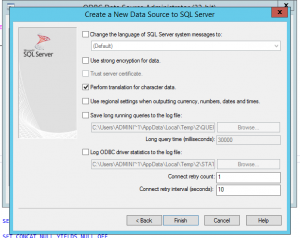
- Click Finish
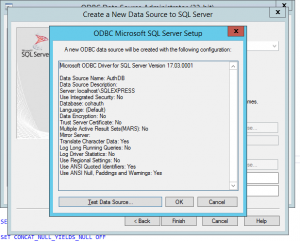
- A box will appear with the settings you have selected. Click "Test Data Source"
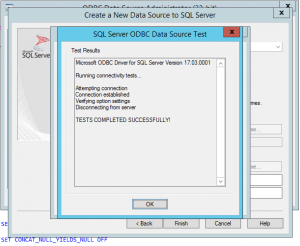
- You should see "TESTS COMPLETED SUCCESSFULLY!" in the output. If not, go back and check your settings.
- Click OK, then OK again.
Launch Server
- Start DBServer.exe and then Launcher.exe. This can be done simply by double clicking on them.
- You could also use a .bat file to start everything up and in the correct order.
- The below is an example bat file to launch the DBServer, Launcher, and finally the Client.
@echo off
echo Starting DB Server
START c:\Ouroboros\dbserver.exe
TIMEOUT 2
echo Starting Launcher Server
START c:\Ouroboros\launcher.exe
TIMEOUT 2
echo Starting Chat Server
START c:\Ouroboros\ChatServer.exe -noreserved
TIMEOUT 2
echo Everything should be launched! Go enjoy CoH.
